
Walk the Snow Route Before the First Storm
Walk from the road to the property entrance with the person who normally manages access. Note gate width, parked vehicles, overhead restrictions and a safe place for equipment to wait. A route that works for a
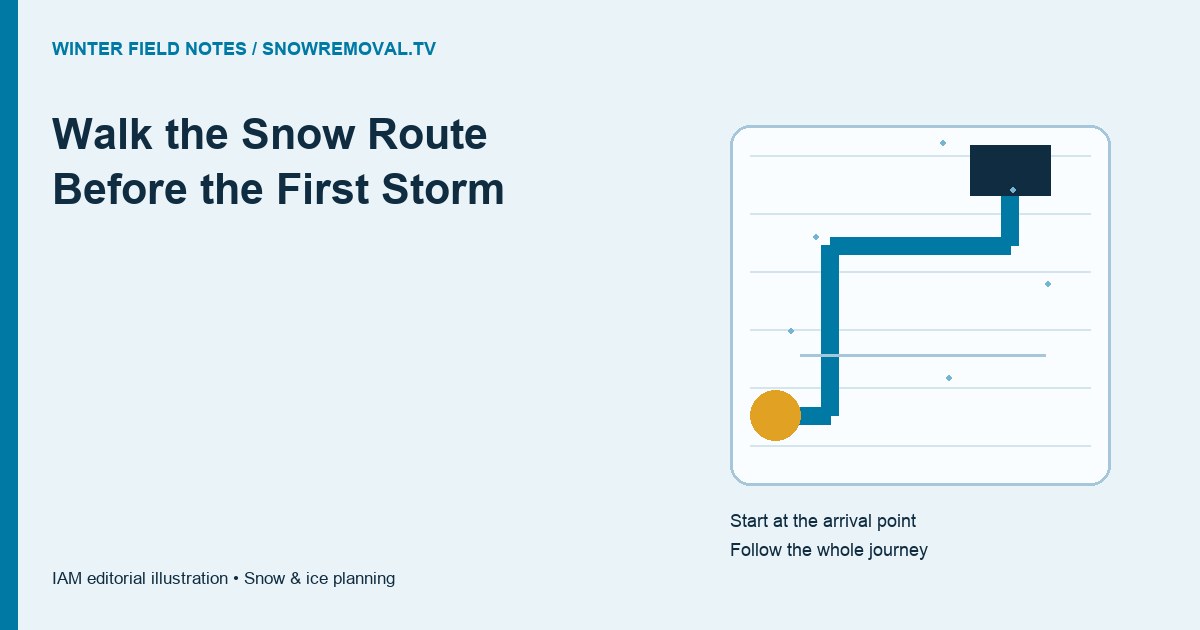
Walk from the road to the property entrance with the person who normally manages access. Note gate width, parked vehicles, overhead restrictions and a safe place for equipment to wait. A route that works for a pedestrian can still be unsuitable for a plow. Photograph the approach in daylight and label the image with a simple location name rather than a resident’s private details.
Continue to the doors people actually use: accessible entrances, refuse areas, loading bays and emergency exits. Mark changes in level, drainage channels and steps. Identify which sections need hand clearing. Keep the route on one annotated plan so a replacement operator can understand it without relying on local knowledge.
Choose storage areas that leave visibility, drainage and doors clear. Ask the operator whether the proposed pile can be reached without repeated reversing or moving snow across a pedestrian route. An attractive empty corner is not automatically a suitable storage location. Record a second option for a prolonged event.
Send a dated route plan and contact list to the provider. Separate priorities from preferences and ask them to confirm any restrictions. Revisit the plan after landscaping, construction or parking changes. Before each forecast event, check that the agreed access has remained clear. See the equipment guide for matching tools to the route.